Overview
Guard Tour Setup allows administrators to plot and map out Guard Tours: physical tours to be performed by guards. These tours consist of points on a map that guards will have to navigate between. These ‘Checkpoints’, can be either device assets (Map Items) or manually created (Waypoints).
Prerequisites
In order to use the Guard Tour setup interface, you must:
- Have the "Mobile/GuardTours" feature enabled within your Feature Setup.
- Have the "Allows a user to Edit guard tours" permission.
Accessing Map Setup
To access Guard Tour Setup you need the previously mentioned prerequisites set up, then this will add the Guard Tour Setup menu option.
Guard Tour Setup will open and show the following screen.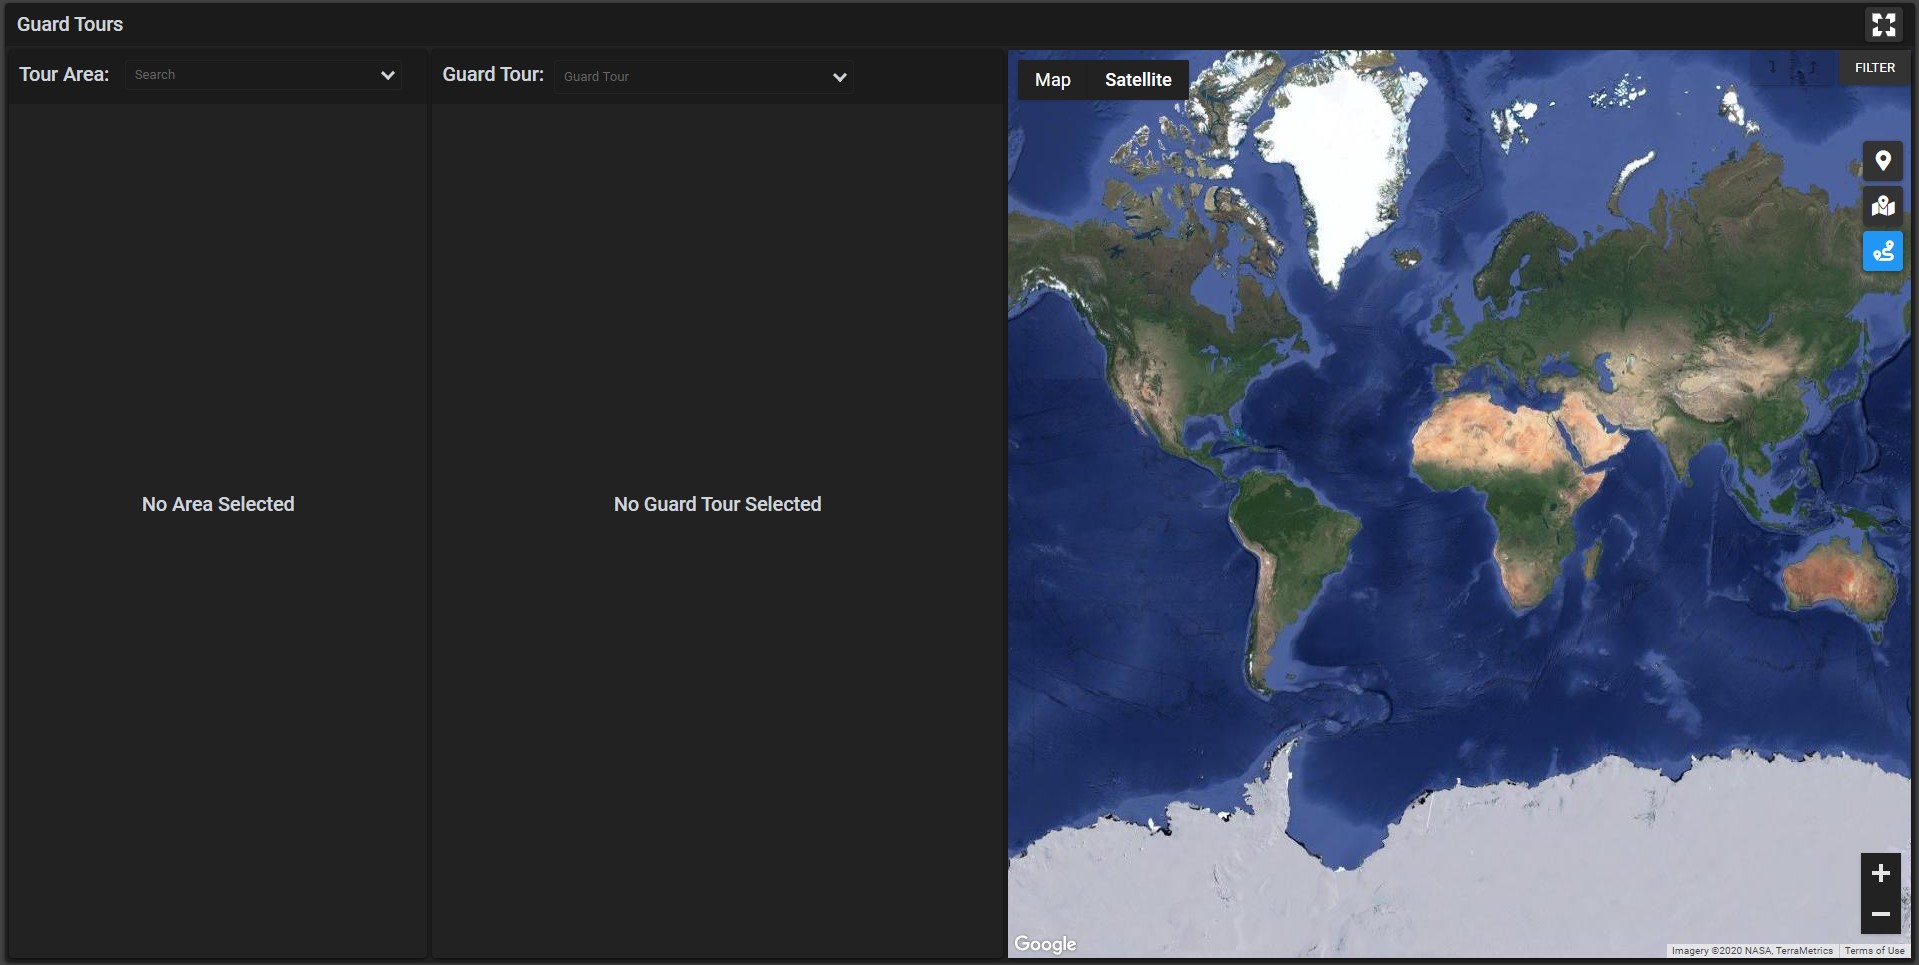
Viewing Guard Tours
To begin viewing existing guard tours, search for an area using the tree on the top left hand side of the screen.
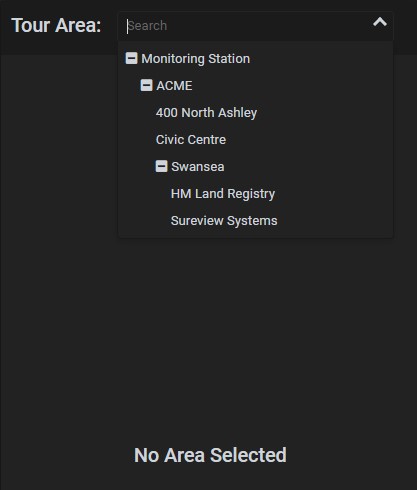
Once you've selected an area the map will then move to the area and show map items plotted on it.
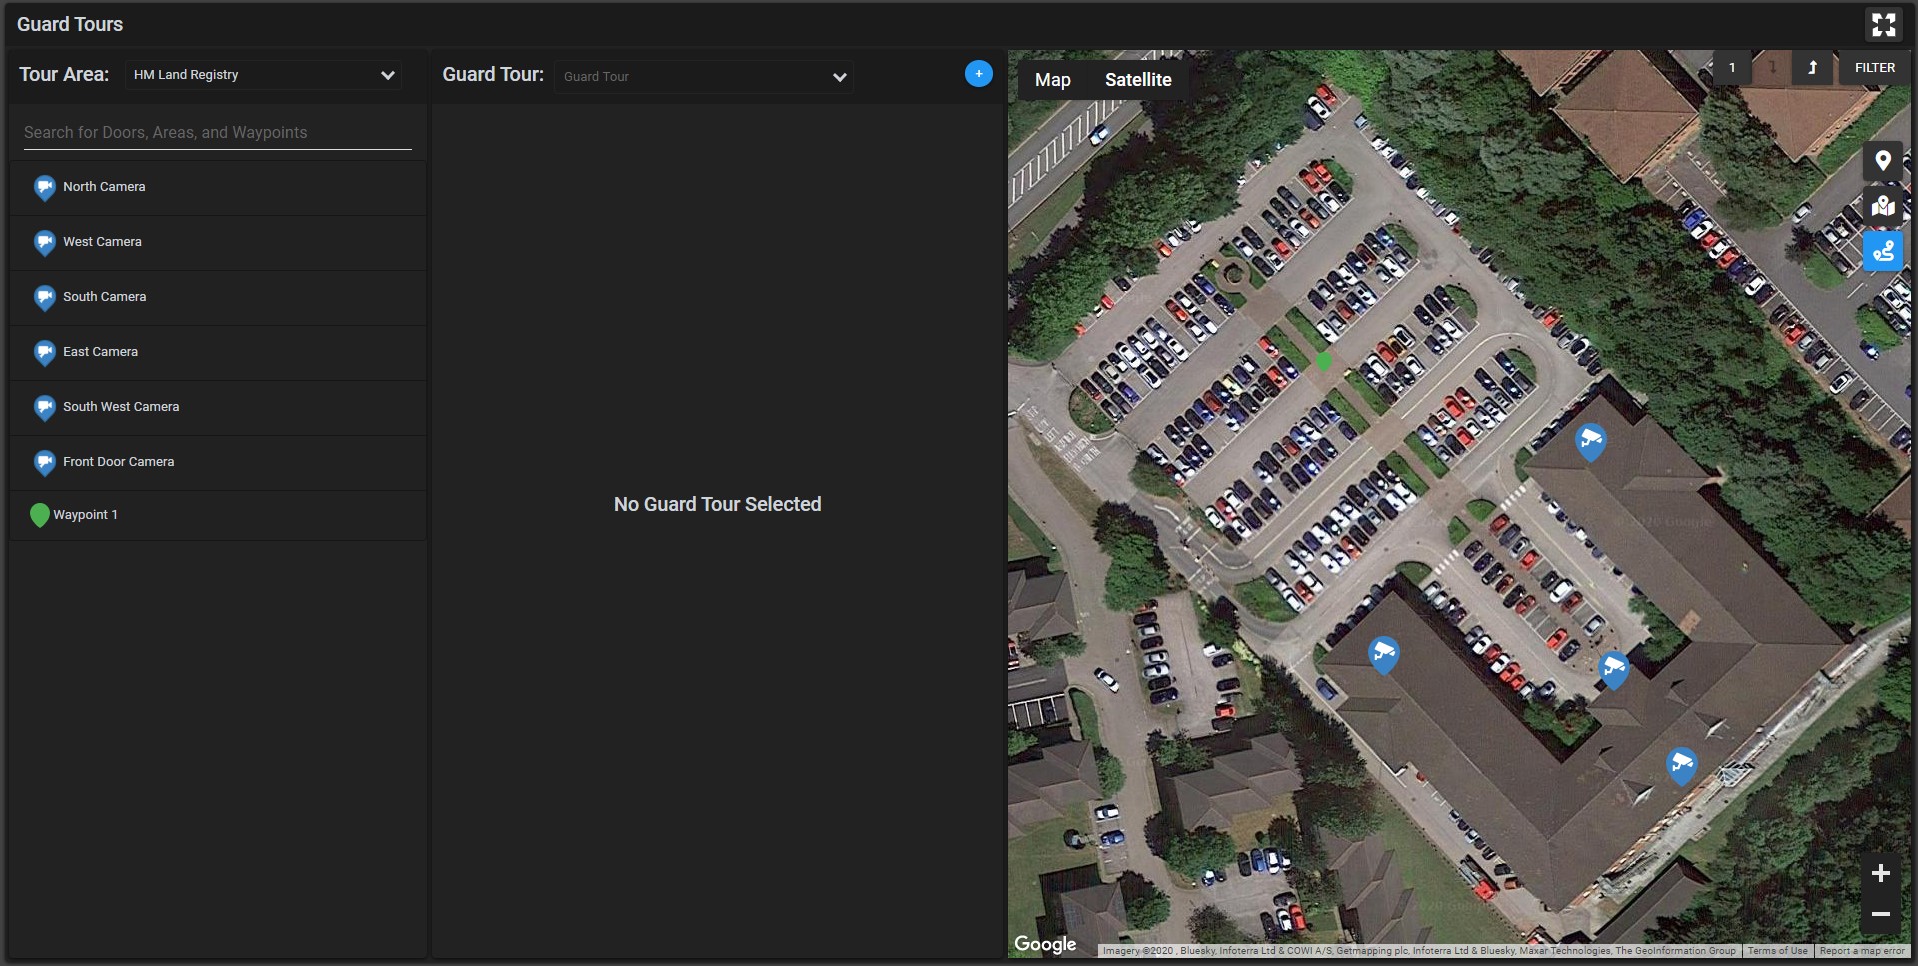 The map item list on the left side will also change to show a list of all the map items and waypoints for the selected area. However the by selecting the
 ![]() button the item list will change to instead show all map items that are visible on the map for your selected layer.
button the item list will change to instead show all map items that are visible on the map for your selected layer.
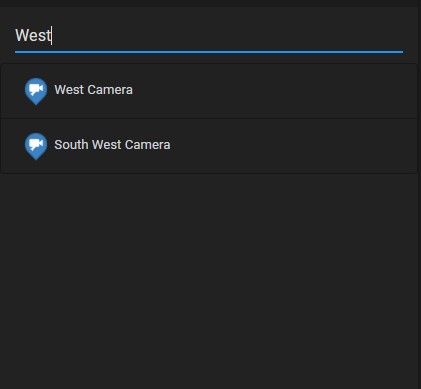
It is also possible to find a specific item to add to the tour using the list to search for a map items title.
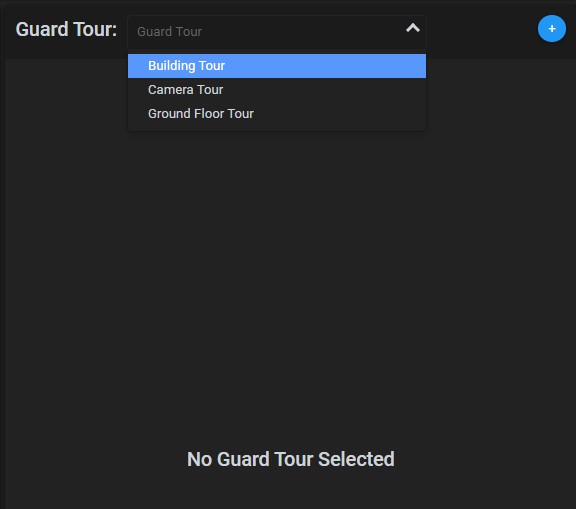
To select a Guard Tour, first click on the guard tour selector in the middle of the screen. This will bring up a list of all the guard tours for that site.
Once a Guard Tour is selected the steps for that tour will be shown in the middle of the screen and the tour will also be drawn on the map.
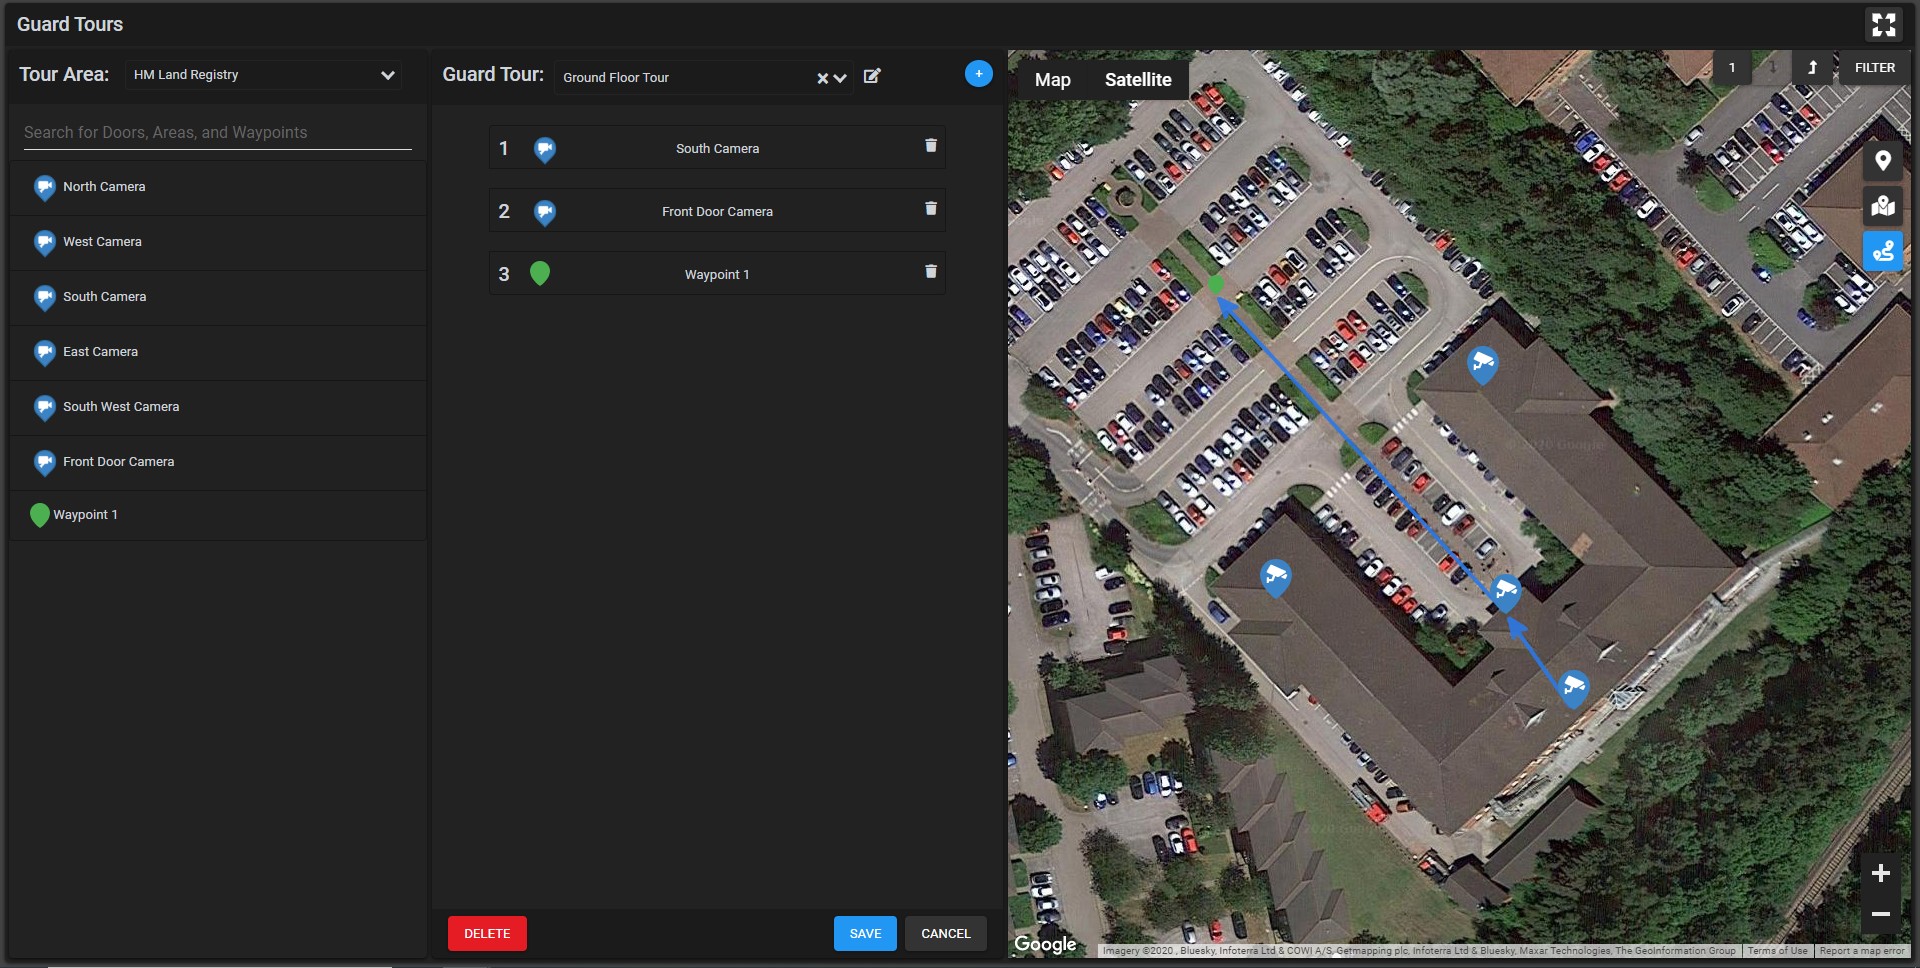
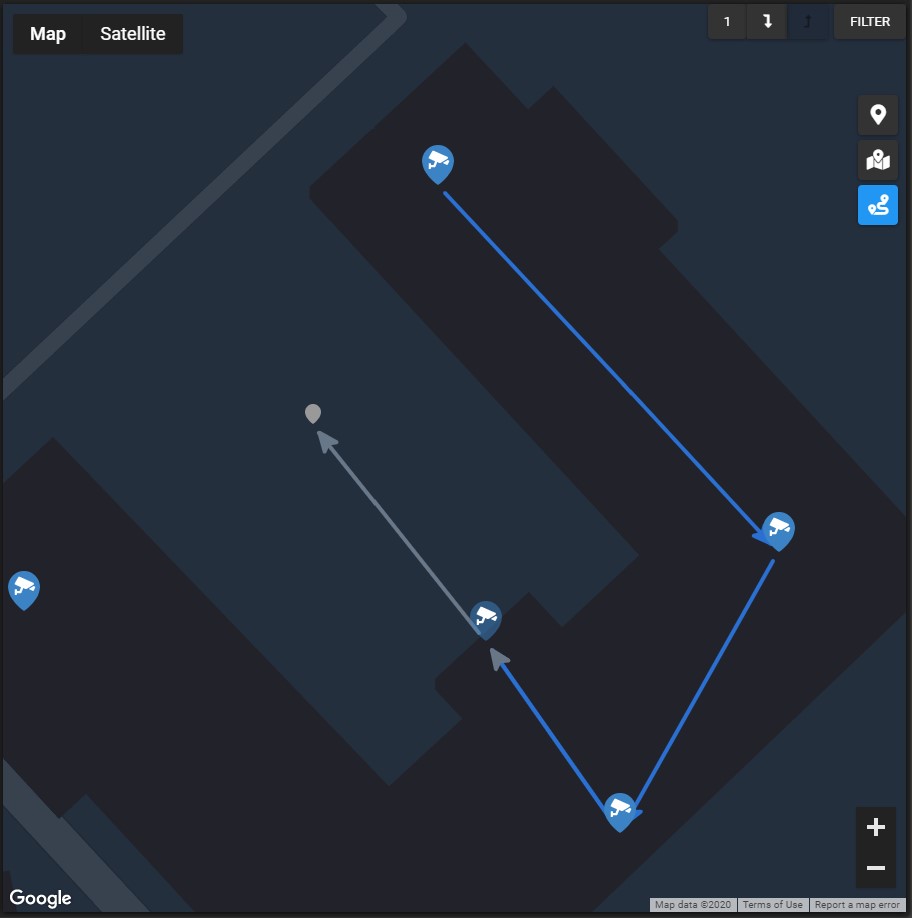
The map will show the path of the selected guard tour and will draw arrows between each steps associated map item. If the tour moves onto different layers then any tour steps not part of the selected layer will be shown as greyed out on the map. The colouring's of the head and body of the tour arrows will also change to reflect that the tour is entering/leaving the selected layer.
Creating A Guard Tour
To create a new tour, click the circular create button at the top of the screen, then enter in a title for the new guard tour in the modal that appears.
Editing Guard Tours
- To add steps to a tour, you can click on the desired item on the map( or on the map item list),this will then add the item as a new step on the tour.
- To reorder a Guard Tour you can click and drag the interactive list of steps.
- To remove a step, you can click on the trash can icon on the desired step.
- To rename a Guard Tour you can click on the rename icon to the right of the Guard Tour Selector and enter in a new title.
The guard tour shown on the map will automatically update to reflect any changes made whilst editing.
Once you are happy with the tour click the save button to apply any changes or click the cancel button to if you wish to discard the changes.
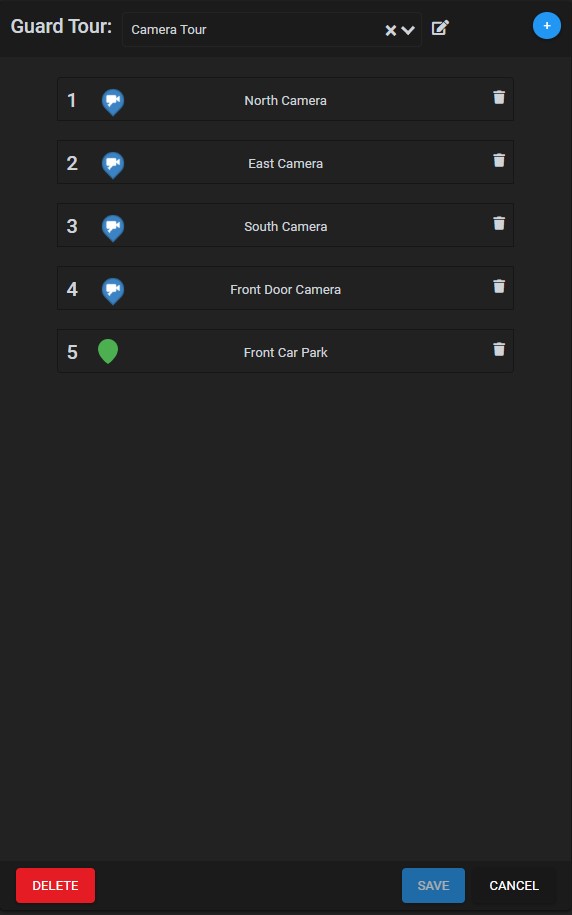
To delete a Guard Tour, click the red delete button at the bottom of the guard tour steps. This will open a confirmation dialog asking you to confirm the deletion of the Guard Tour.
Creating Waypoints
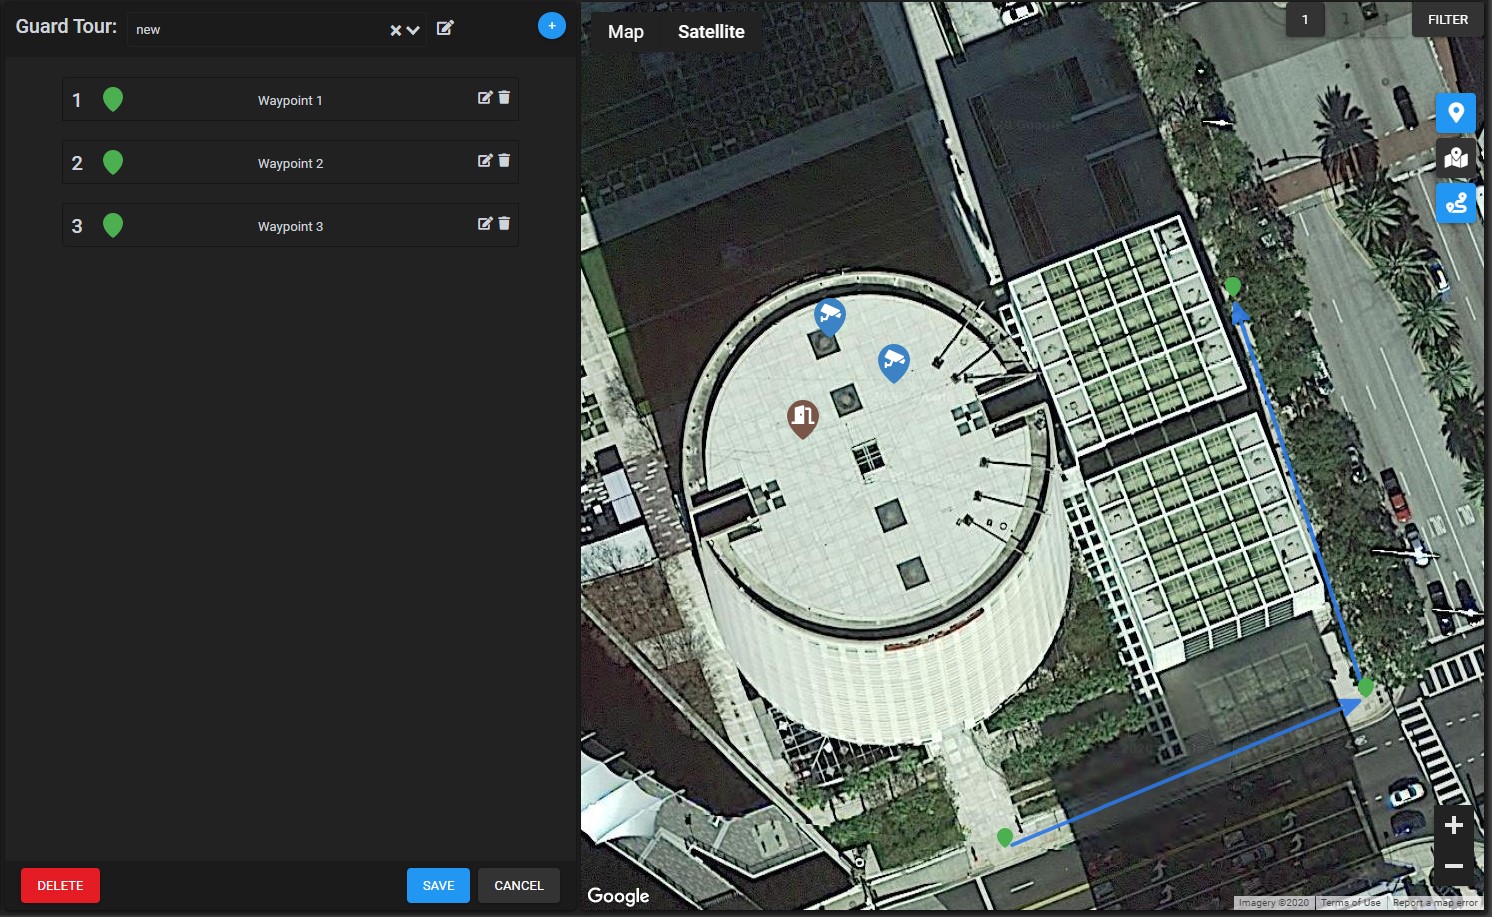
In order to create new waypoints first click on the create waypoint button ![]() on the right side of the map, the button will then change to become highlighted, meaning that any time you click on the map a new waypoint will be created.
on the right side of the map, the button will then change to become highlighted, meaning that any time you click on the map a new waypoint will be created.
Any new waypoints created will be automatically added to the Guard Tours Steps and assigned a default name e.g 'waypoint 1', 'waypoint 2', 'waypoint 3', etc. However, new waypoints can also be renamed by clicking the rename icon on the step list, then entering in a new title for the waypoint in the modal that appears.
Note: You can only rename new waypoints, to change the details of any existing waypoints please use the Map Setup.
New waypoints created can also be deleted by clicking the trash can icon on the associated step, which will also remove the step from the tour.
Clicking the save button will then save the new waypoints to the map
Comments
0 comments
Please sign in to leave a comment.