Overview
A feature that lets guards check into assets when dispatched to an alarm or guard tour. In certain places, such as buildings, checking into an asset allows a guard to identify their location where GPS may not be an option. Checking in is carried out via scanning a QR code, NFC point, RFID point or any other third party point of a particular asset. After scanning, the map will automatically update the guard' position on the map allowing the guard to identify their location and re-orient themselves. The map layer corresponding to the asset scanned will also be displayed to aid the guard in identifying their location.
Feature prerequisite
To use this feature, the "Mobile/CheckIn" feature must be enabled. Enabling this feature is controlled by your SureView Systems Administrator and may be dependent on your individual license.
Guard check in - Dispatched to Alarm
On dispatch to an alarm, once the guard acknowledges the alarm, check in becomes possible. The check in button with a barcode logo can be seen at the bottom right hand corner of the screen. An example of this button can be seen below:

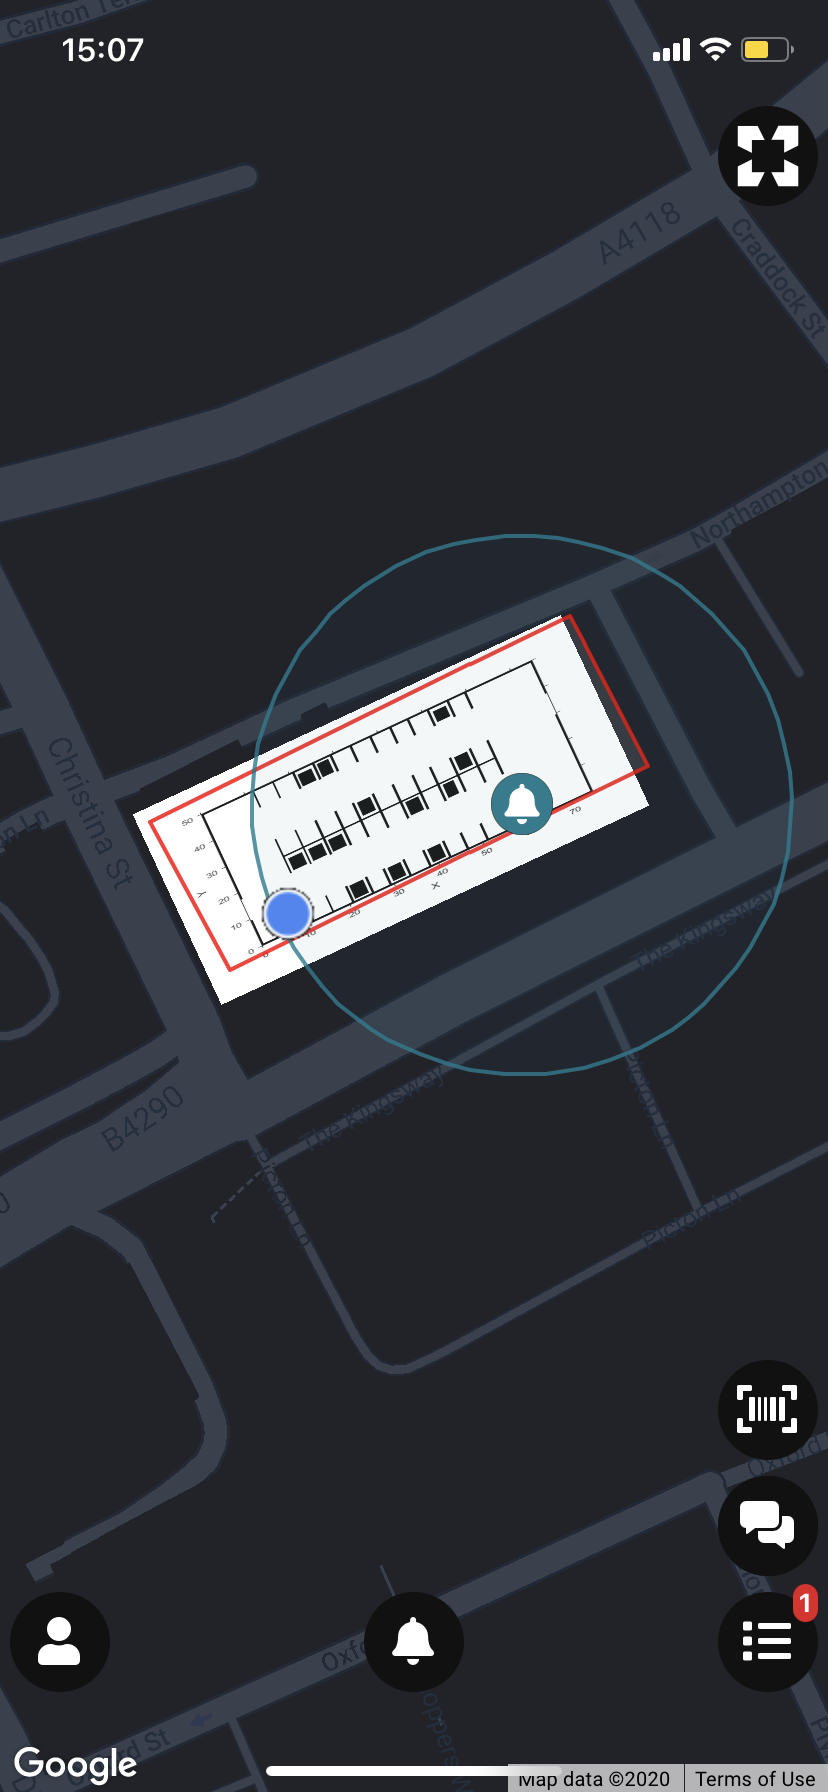
Clicking this button will open the mobile' QR code scanner. Here you can scan the QR code for the asset. On successfully scanning the QR code, the guard's location, which corresponds with the checked in assets location, will be updated on the map. The asset's corresponding map layer will be shown to give the guard an idea of where they are within the area. GPS will also be disabled. An example of this can be seen below:

A guard can subsequently check into other assets as many times as is required to help them reach the alarm. These assets must be setup to have an associated location identifier. This can be setup in the map setup interface. The article can be found here. Once a guard reaches their destination, they can complete as they normally would by tapping the alarm pin and pressing the "ARRIVED" button.
Guard check in - Dispatched to Guard Tour
On dispatch to a guard tour, once the guard starts the tour, check in becomes possible. The check in button with a barcode logo can be seen at the bottom right hand corner of the screen. An example of this button can be seen below:

Clicking this button will open the mobile' QR code scanner. Here you can scan the QR code for the asset. On successfully scanning the QR code, two outcomes are possible:
- Successful check in for tour step
- Guard relocation
Successful check in for tour step
On a successful check in for a tour step, the guard will have checked into an asset which corresponds to the next tour step. As usual, you will prompted to; take a picture (optional), add a note (optional) and to continue the tour as you would on a normal guard tour. An example of this can be seen below:

On continuing the tour, the guard' location, which corresponds to the location of the checked in asset, will be plotted along with the next tour step. The checked in asset' map layer will also be displayed. An example of this can be seen below:

Guard relocation
On a guard relocation, the guard will have checked into an asset which does not correspond to the next tour step of a tour. In this case, a guard will have its location on the map simply updated corresponding to the asset they had checked into. GPS will be disabled. The checked in asset' map layer will also be displayed. This is to allow a guard to identify their location and re-orient themselves to reach the next guard tour step.
Re-enabling GPS
On completing/cancelling a tour/dispatch, the guard' GPS can be re-enabled. A button will be shown in place of the guard' check in button which allows the guard to re-enable their GPS. An example of this can be seen below:

Comments
0 comments
Please sign in to leave a comment.