Introduction
Download now on the Apple App Store or the Google Play Store!
SureView's Mobile app is the modern solution for fostering communication across your security team. Patrolling guards receive push notifications after being dispatched to an event. Directions are automatically provided to the guard, along with any notes attached when the event was created.
Guards and operators can communicate in real time, using both text and images. These messages are all logged to the audit trail of the event, as well as who was dispatched and when. Users can even manage their availability directly from the app, ensuring operators only dispatch the appropriate individuals.
Before utilizing the mobile app, it's important to create a set of call signs for your users to adopt for each shift. This is handled in the Dispatch Setup page of the desktop interface.
Configuring your endpoint
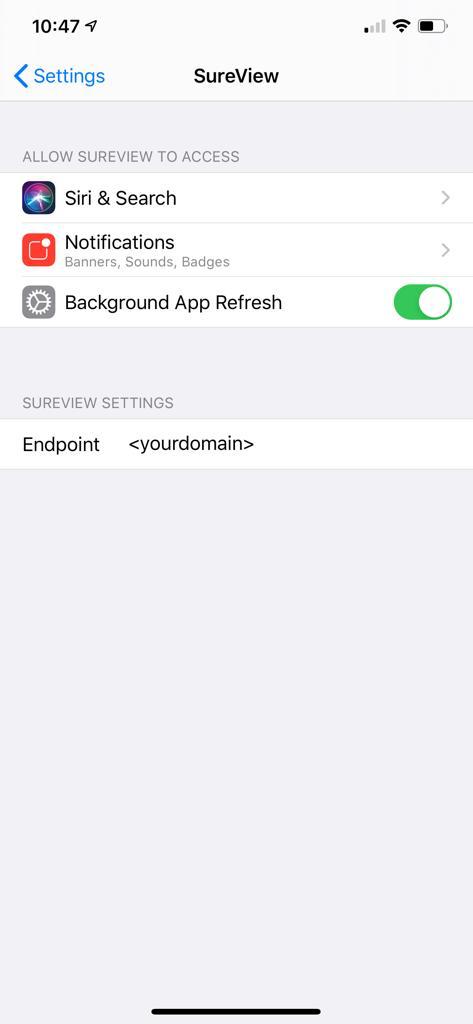
The first step to using the mobile app is to configure the endpoint to use the address of your Sureview Server. To do this on iOS, navigate to the phone’s settings apps and scroll down to find the Sureview App. Selecting the app from the list will show you the apps options. Click to the right of “Endpoint” and type in the address of your Sureview Server.

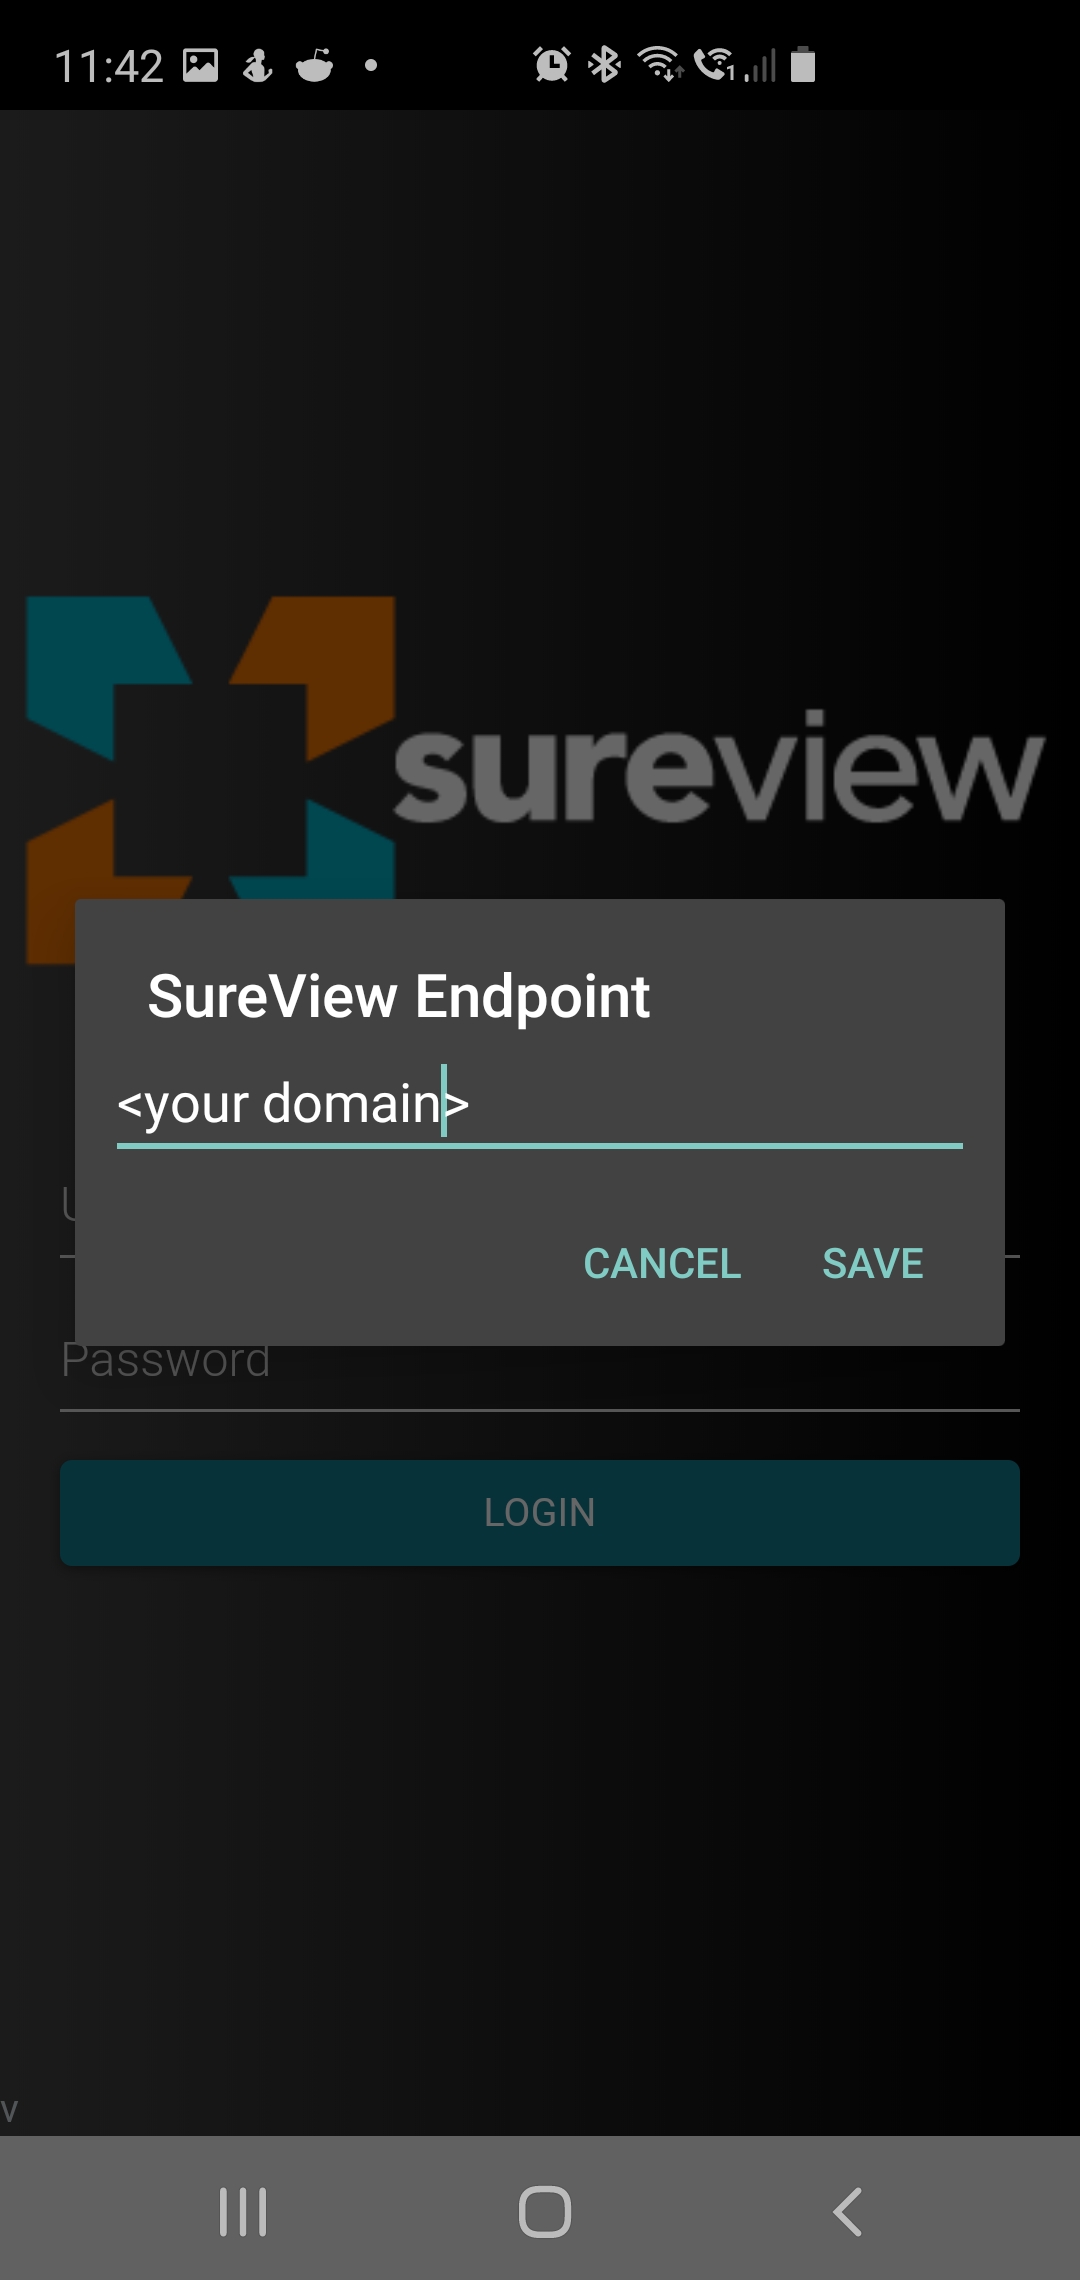
If using Android, once you have the app open, tap three fingers on the screen and you will be shown a box to type the endpoint address into.

Login
Upon first opening the app, enter the username and password issued by your SureView administrator. For help setting up users eligible for mobile login, visit the User Setup page.

Call Signs
After logging in, you will be prompted to select a call sign. This identifier is how operators will keep track of who to dispatch. Typically a call sign is associated with a particular region or location, rather than a specific individual. That is to say, the call sign you select today may be different from the one used tomorrow, if you are patrolling a different area.

Dispatches
Patrolling guards available for dispatch can be dispatched using the desktop interface while handling an event. Guards using the mobile dispatch interface are denoted in the dispatch menu with a mobile icon. Otherwise, a radio icon is present.

After being dispatched, a banner will appear at the top of the screen, and an alarm pin will be included on the mobile map. If the device was in sleep mode at the time of being dispatched, a push notification will play a brief alarm sound and notify the guard of their new dispatch.

Request Menu
A list of ongoing dispatches can be viewed by pressing the button in the lower right, which will open the following swipe menu:

Event Details
Within each event container, the event details can be viewed. This includes the type of event, the area it was raised at, the event's requester, and any additional notes appended by the operator.

Show
Pressing the ![]() button will collapse the menu and bring the map view to the corresponding event location.
button will collapse the menu and bring the map view to the corresponding event location.
Accepting Requests
Initial Acknowledgment
After pressing the ![]() Button, the operator will be informed that you are en route to the event location. This is an important step, as it logs the first moment the patrolling guard acknowledged the alarm.
Button, the operator will be informed that you are en route to the event location. This is an important step, as it logs the first moment the patrolling guard acknowledged the alarm.
I've Arrived
Once the guard has arrived at the location, they will tap the alarm pin and press the ![]() button to log that they are now actively investigating the incident. This information ultimately forms a trail of events that helps reconstruct any past incident, simply by looking at the details presented on the Event Search page.
button to log that they are now actively investigating the incident. This information ultimately forms a trail of events that helps reconstruct any past incident, simply by looking at the details presented on the Event Search page.

Operator/Guard Communication
After the guard has indicated their arrival, they will be presented a menu where they can communicate with the operator in real time.

Text Communication
A lightweight chat module is built into the app, such that guards can send and receive messages to keep one another informed as an event progresses.

Completing Dispatch
After the event has been resolved, guards will press the ![]() button to indicate that the dispatch request has been carried out. This will return their status to available for further dispatches.
button to indicate that the dispatch request has been carried out. This will return their status to available for further dispatches.
Availability Menu

Pressing the button in the lower left corner (![]() ) of the screen will open the swipe menu of the left side of the screen. This is where you can check which Call Sign you are actively using. The name will be displayed in the upper left corner, and will resemble the following:
) of the screen will open the swipe menu of the left side of the screen. This is where you can check which Call Sign you are actively using. The name will be displayed in the upper left corner, and will resemble the following:

A handful of additional features are held here, each of which is discussed below.
Starting Breaks
Guards have the ability to manually change their availability for the sake of taking bathroom breaks, eating lunch, and so on. To do so, simply press the "Available" button at the top (![]() ), and then select the button with the reason for your break. Include any additional notes, and press the check button (
), and then select the button with the reason for your break. Include any additional notes, and press the check button (![]() ) to confirm the change. Naturally, each of these actions are documented for future reporting purposes.
) to confirm the change. Naturally, each of these actions are documented for future reporting purposes.

Toggling Directions

The directions provided by Google maps are predominately beneficial to users with areas covering very large regions. For smaller patrol zones, the directions functionality may be switched off from this menu.
Logging Out

From this menu, guards also have the ability to log out. This will free up the chosen call sign, and mark their shift as complete.
Comments
0 comments
Please sign in to leave a comment.